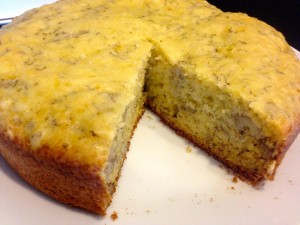
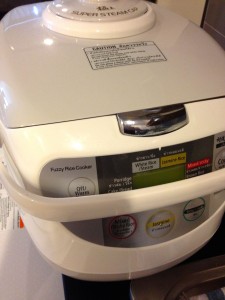
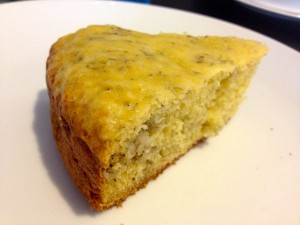
What do you do when you’re an avid baker trapped in an apartment with no oven? Improvise! While it’s probably possible to throw some cake batter on the hot sidewalk outside to bake a cake, I decided to go with a slightly more sanitary alternative and try to bake in our rice cooker. And what do you know, it actually worked out.
Friends and family know I’m obsessed with baking. It is my own little form of meditation, and our tiny kitchen back home was full of cooking tools, baking pans and fun doodads. Our kitchen here in Chiang Mai is sparsely stocked – we don’t have an oven, a mixer, measuring spoons, or even a full-sized measuring cup! Using some creative math and a lot of google searches, here’s the recipe I used for Rice Cooker Banana Cake. (Original recipe was sourced from this blog.)
Ingredients
Note: All “cup” measurements below were made using a rice cooker cup, which is smaller than a normal measuring cup! I used creative estimation with a bottle of water to find that a normal measuring cup is 1.4 times larger than our rice cooker cup, and scaled the original recipe accordingly, yielding the ingredient amounts below. I also estimated the quantities of baking powder and soda since I don’t have a teaspoon, and things turned out just fine!
3 eggs
3/4 rice cooker cups of sugar
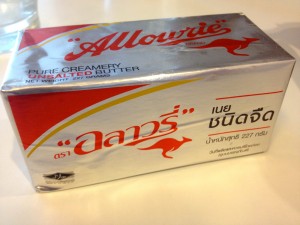
110g butter (it’s best to just buy some new butter and try to eyeball this quantity based on how large the manufacture says your butter is. Most butter here comes in 220g sticks, so I just used a half stick.)
1.8 rice cooker cups of flour
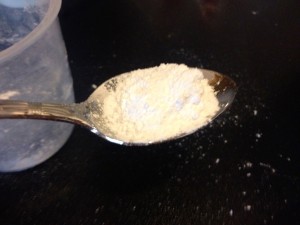
3/4 tsp baking powder
3/4 tsp baking soda
1 rice cooker cup of mashed bananas
Pinch of salt
Directions
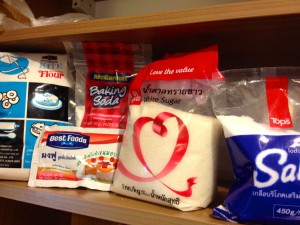
Step 1: Gather your ingredients. Plain ‘ol all purpose flour can be tough to track down in Chiang Mai. Rice flour and cake flour were easy to find, but I had to go to the Rimping Supermarket to find all purpose flour. Rimping is an upscale market in Chiang Mai that specializes in imported goods. They also sell goldfish crackers! And decent imported beer! And all sorts of cheeses! Heaven.
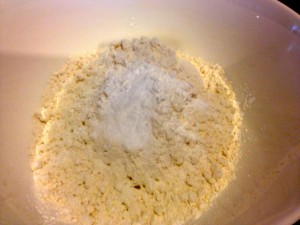
Step 2: Stir the flour, baking soda, baking powder, and salt together in a large bowl. Set aside.
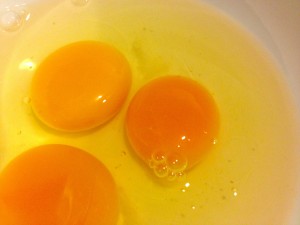
Step 3: In another large bowl, beat the eggs until frothy. I wish I had a mixer for this.
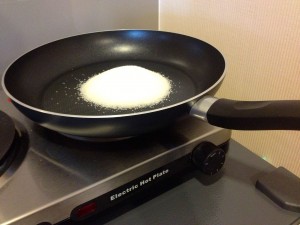
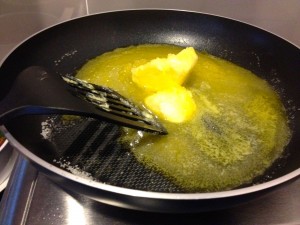
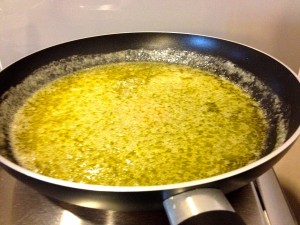
Step 4: Combine sugar and butter in a pot on the stovetop and cook on medium heat until melted together. Let the butter and sugar cool for a bit, then pour it slowly into the beaten eggs while whisking the eggs (to keep them from being cooked by the hot butter-sugar mixture!).
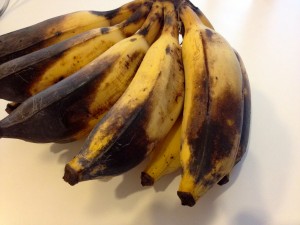
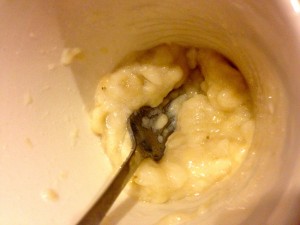
Step 5: Mash up enough bananas to fill 1 rice cooker cup. For me, this was 4 small bananas. Hopefully you have better kitchen supplies than I did – I mashed my bananas in a coffee mug. So sad.
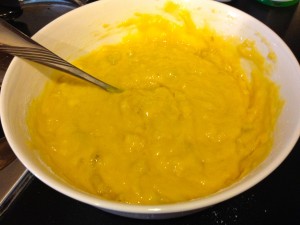
Step 6: Stir the bananas into the egg mixture until well combined. Then add the flour mixture and stir until combined.
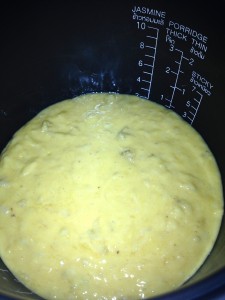
Step 7: Grease your rice cooker, then pour in the batter.
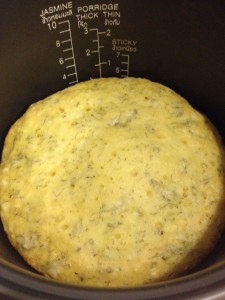
Step 8: If your rice cooker has a “cake” mode, use that. If not, you can use the “cook” setting. Rumor has it you can even use an old school single-button rice cooker (see original recipe for more info). My cake baked for 35 minutes in our 10-cup rice cooker on “cake” mode and came out perfectly. In the original recipe, it took 1 hour in a 5.5 cup rice cooker on “cook” mode. What you should do is start checking it every 5-10 minutes once you start to smell the cake. It’s done when you can insert a toothpick (or knife) in the center and it comes out clean.
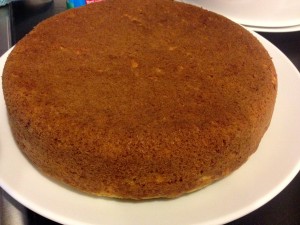
Step 9: Immediately remove the insert from your rice cooker. Let cool for about 5 minutes, then use the rice cooker spatula to loosen the cake around the edges. Flip the cake out onto a plate, then use a second plate to flip the cake upright.
We Want To Hear From You!
Have you cooked or baked anything in a rice cooker? This is my first attempt at making anything but rice in a rice cooker, and now I’m hooked. If you have any rice cooker tips or recipes to share, please leave us a comment!
Cool! I’ve never cooked in anything unconventional, but I know there are also slow cooker “baking” recipes out there.
I’m excited to try a few more things – it came with a steamer insert so you can steam like chicken and veggies as your rice cooks (I think?). The problem is that the manual that came with it is in Thai! I’m completely lost!
Pinterest it, haha!